I accidentally converted a GPT disk to MBR and now my partitions/data are missing or inaccessible. I’m trying to figure out the safest way to recover the original GPT partition table without overwriting files. What tools or steps should I use for GPT partition recovery after an MBR conversion?
First thing: don’t write anything else to that drive. Don’t create a new partition, don’t format it, don’t run Diskpart “Clean,” and don’t keep using it like normal while you figure this out. If the disk suddenly shows as “Unallocated,” “RAW,” or something like a “GPT Protective Partition,” your files may still be there, but every write gives you another chance to overwrite something important.
GPT disks are a little forgiving because the partition table has backup data stored at the end of the drive. So if only the main GPT header or partition entries got damaged, recovery is often possible. The catch is that you want to avoid “repairing” the original disk until you have a safe copy or you’ve pulled the files somewhere else.
The safest route is to make a sector-by-sector image first. Tools like dd or ddrescue can clone the whole drive into an image file. That way, if a recovery attempt goes sideways, you’re working from a copy instead of gambling with the actual disk. If the files matter, this step is worth the time.
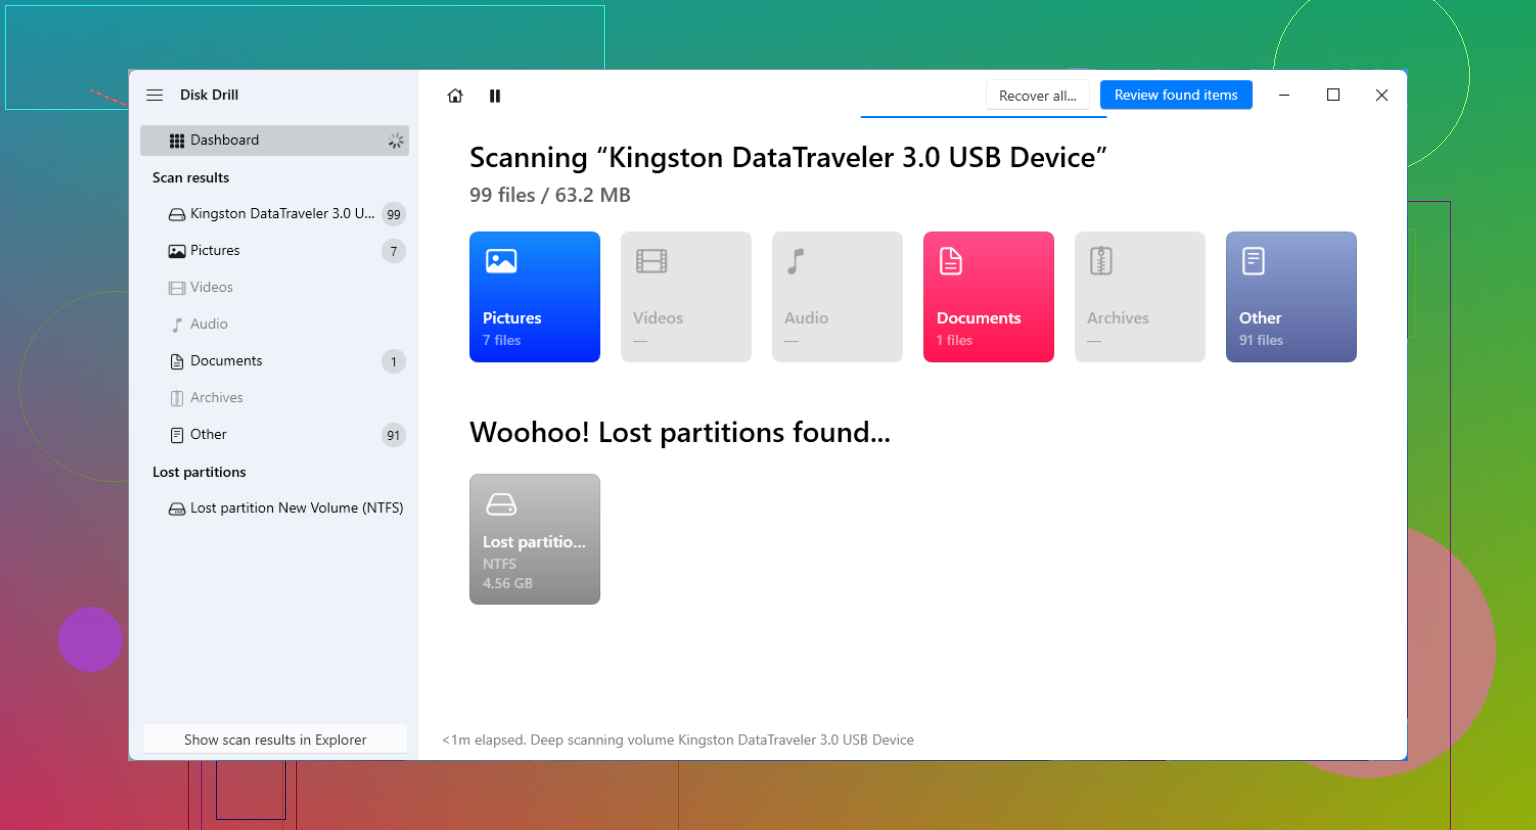
For most people, I’d start with recovery software rather than manually rebuilding the partition table. Manual repair can work, but it’s easy to make one bad choice and make things worse. A tool like Disk Drill is a practical option because it can scan the drive without rewriting the partition table right away. It looks for lost partitions and file signatures, lets you preview what it finds, and then you recover the files to a different drive.
That last part matters: recover to another disk, not back onto the damaged one. If your photos, documents, or whatever else show up in the preview, copy them out first. Once your data is safe, then you can worry about fixing the original drive.
If you’re comfortable with more technical tools, there are a couple of repair options after you’ve made an image or backup:
- TestDisk: Good for scanning the disk for old partition structures. If it finds the correct partition, it can write a new partition table. Just be careful before choosing “Write,” because picking the wrong partition can create more trouble.
- gdisk: Useful when the main GPT header is damaged but the backup GPT header at the end of the disk is still intact. It can rebuild the primary GPT from the backup in the right situation.
If Windows shows the drive as a GPT Protective Partition, don’t assume the data is gone. That can happen with older systems, USB adapters, docks, or compatibility weirdness. Again, avoid Diskpart “Clean” unless you’ve already recovered everything you need. Try scanning it first with something like Disk Drill and see if the files are visible through the protective partition entry.
Do not let Windows “initialize,” “repair,” or format the disk just because Disk Management offers to make it usable again. That prompt is not recovery, it is Windows trying to create a layout it understands. If this was a disk over 2 TB, converting to MBR is especially messy because MBR cannot describe the full disk the same way GPT can, so parts of the old layout may simply be outside what the new table can represent.
I agree with the image-first advice, but I’d be careful about where you do the recovery. If the drive is in a USB dock or enclosure, try to identify whether the enclosure is changing the reported sector size. Some docks present a drive differently than when it is connected directly by SATA/NVMe, and partition recovery tools can get confusing results if the geometry does not match how the disk was originally used. If possible, connect it the same way it was connected when the GPT partitions were created.
After that, I would treat “restore the GPT partition table” as step two, not step one. Scan first, confirm the partition boundaries look sane, and recover important files to another disk before writing any repaired table. Disk Drill or TestDisk can both be useful for finding the old partitions, but don’t press the button that writes changes just because the tool found something with a familiar label. If you see the right file tree and the dates/names look normal, pull the data out first. Rebuilding the table is only worth the risk once the important stuff is already somewhere safe.
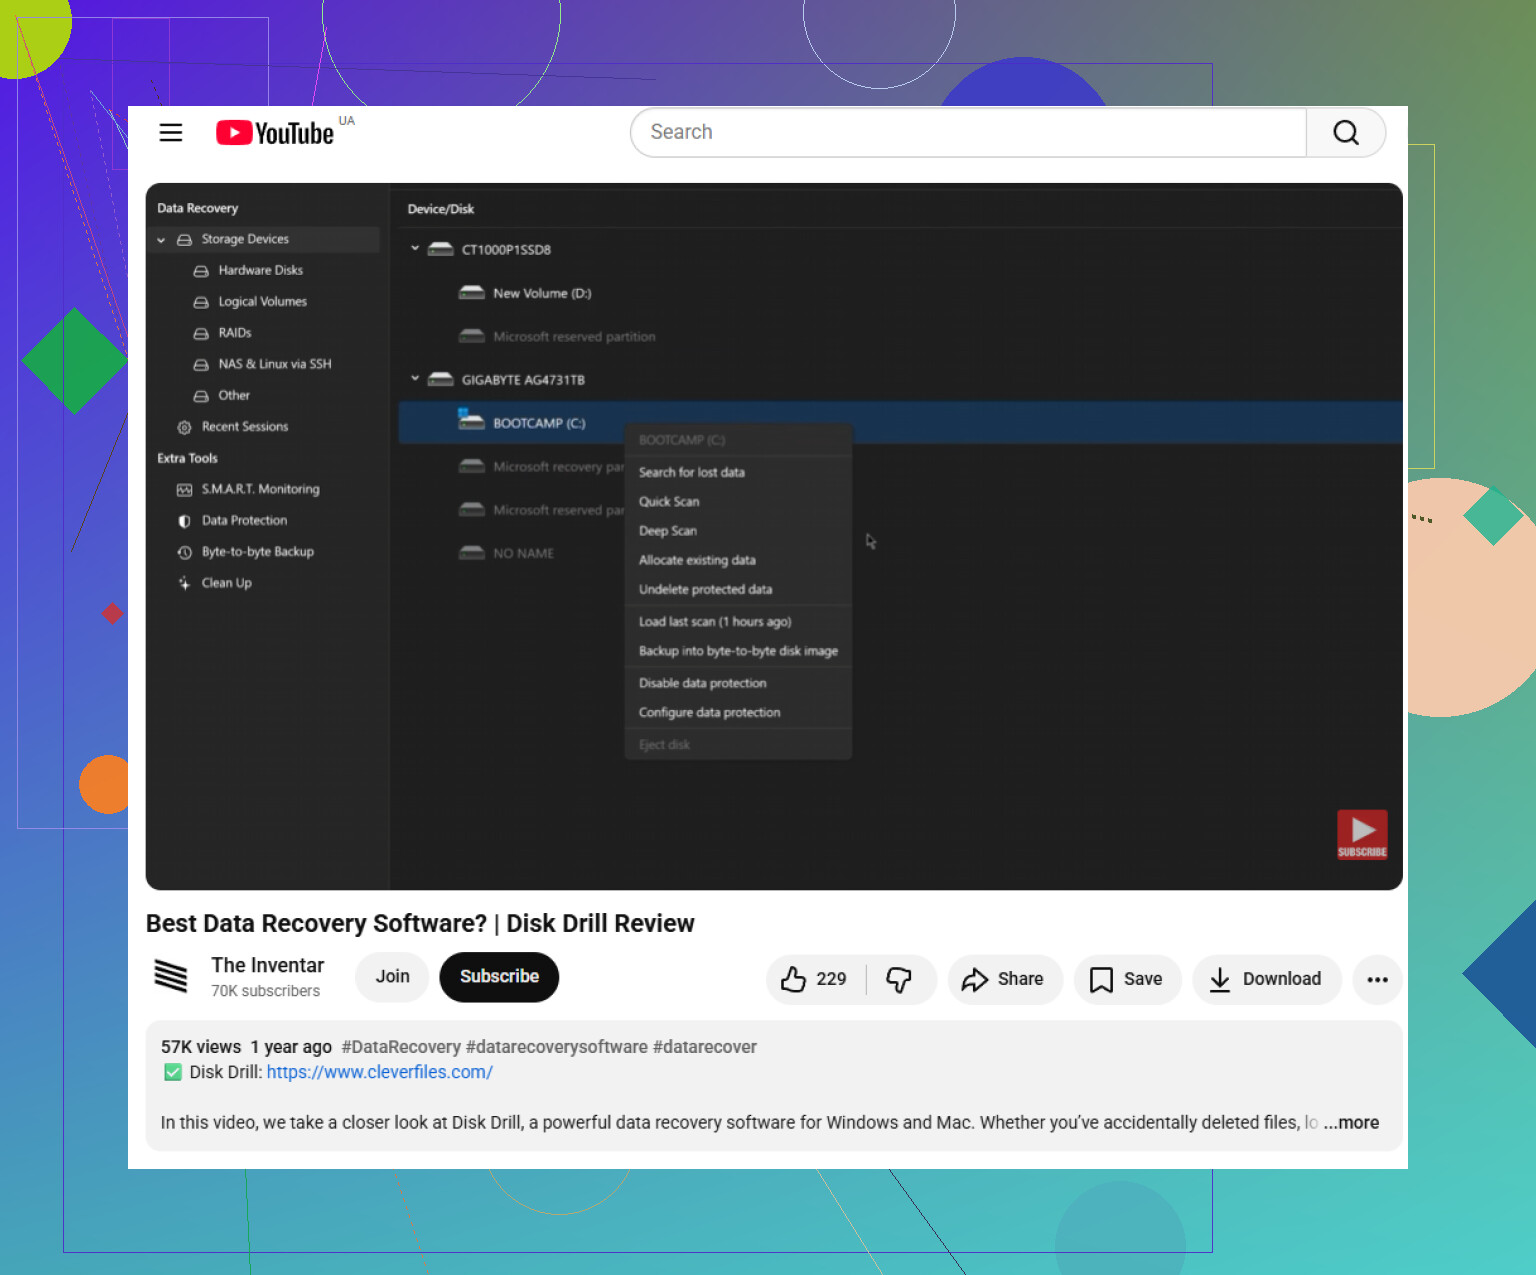
Boot a live Linux USB and inspect the disk read-only before trying to “convert it back.” The Windows MBR-to-GPT tools are not undo buttons, and using something like mbr2gpt or Disk Management at this point can create a fresh GPT layout rather than restore your old one. I’d use something like gdisk -l or TestDisk just to see whether the backup GPT at the end of the disk is still detected, then stop and make an image if it looks promising. Disk Drill is fine for pulling files out if you want the less technical route, but I would not treat any tool’s “rebuild” button as safe until the important files are already copied to another drive.
Check whether anything was written after the conversion, especially a new volume or quick format. If this is an SSD and TRIM ran, some recovered file lists may look perfect while the contents are already zeroed, so previewing files in Disk Drill/TestDisk matters more than just seeing old partition names.