I’m trying to learn how to make AI photos, but I got stuck after testing a few tools and the results looked blurry and unrealistic. I need help figuring out which AI image generator to use, what prompts work best, and how to create better-looking photos without wasting more time.
Making AI photos of yourself is pretty straightforward. I tried it with a few apps, and the process stayed mostly the same. You upload a small set of selfies, the app builds a model from your face, then you pick a look and wait for the results.
If you want the easy route on iPhone, I had a smooth run with Eltima AI Headshot Generator app for iPhone. I used 1 to 3 selfies. Clear shots helped most. Daylight helped too. I mixed angles instead of uploading three copies of the same pose. After that, the app built a personal model and gave me a bunch of preset packs to pick from.
Some of the options included:
- LinkedIn headshots
- Corporate portraits
- Casual lifestyle photos
- Travel-style images
- Social media looks
I picked a pack, waited a bit, and got multiple versions back. Some looked off, some looked close enough to use, and a few were solid. I saved the ones I liked and skipped the weird ones.
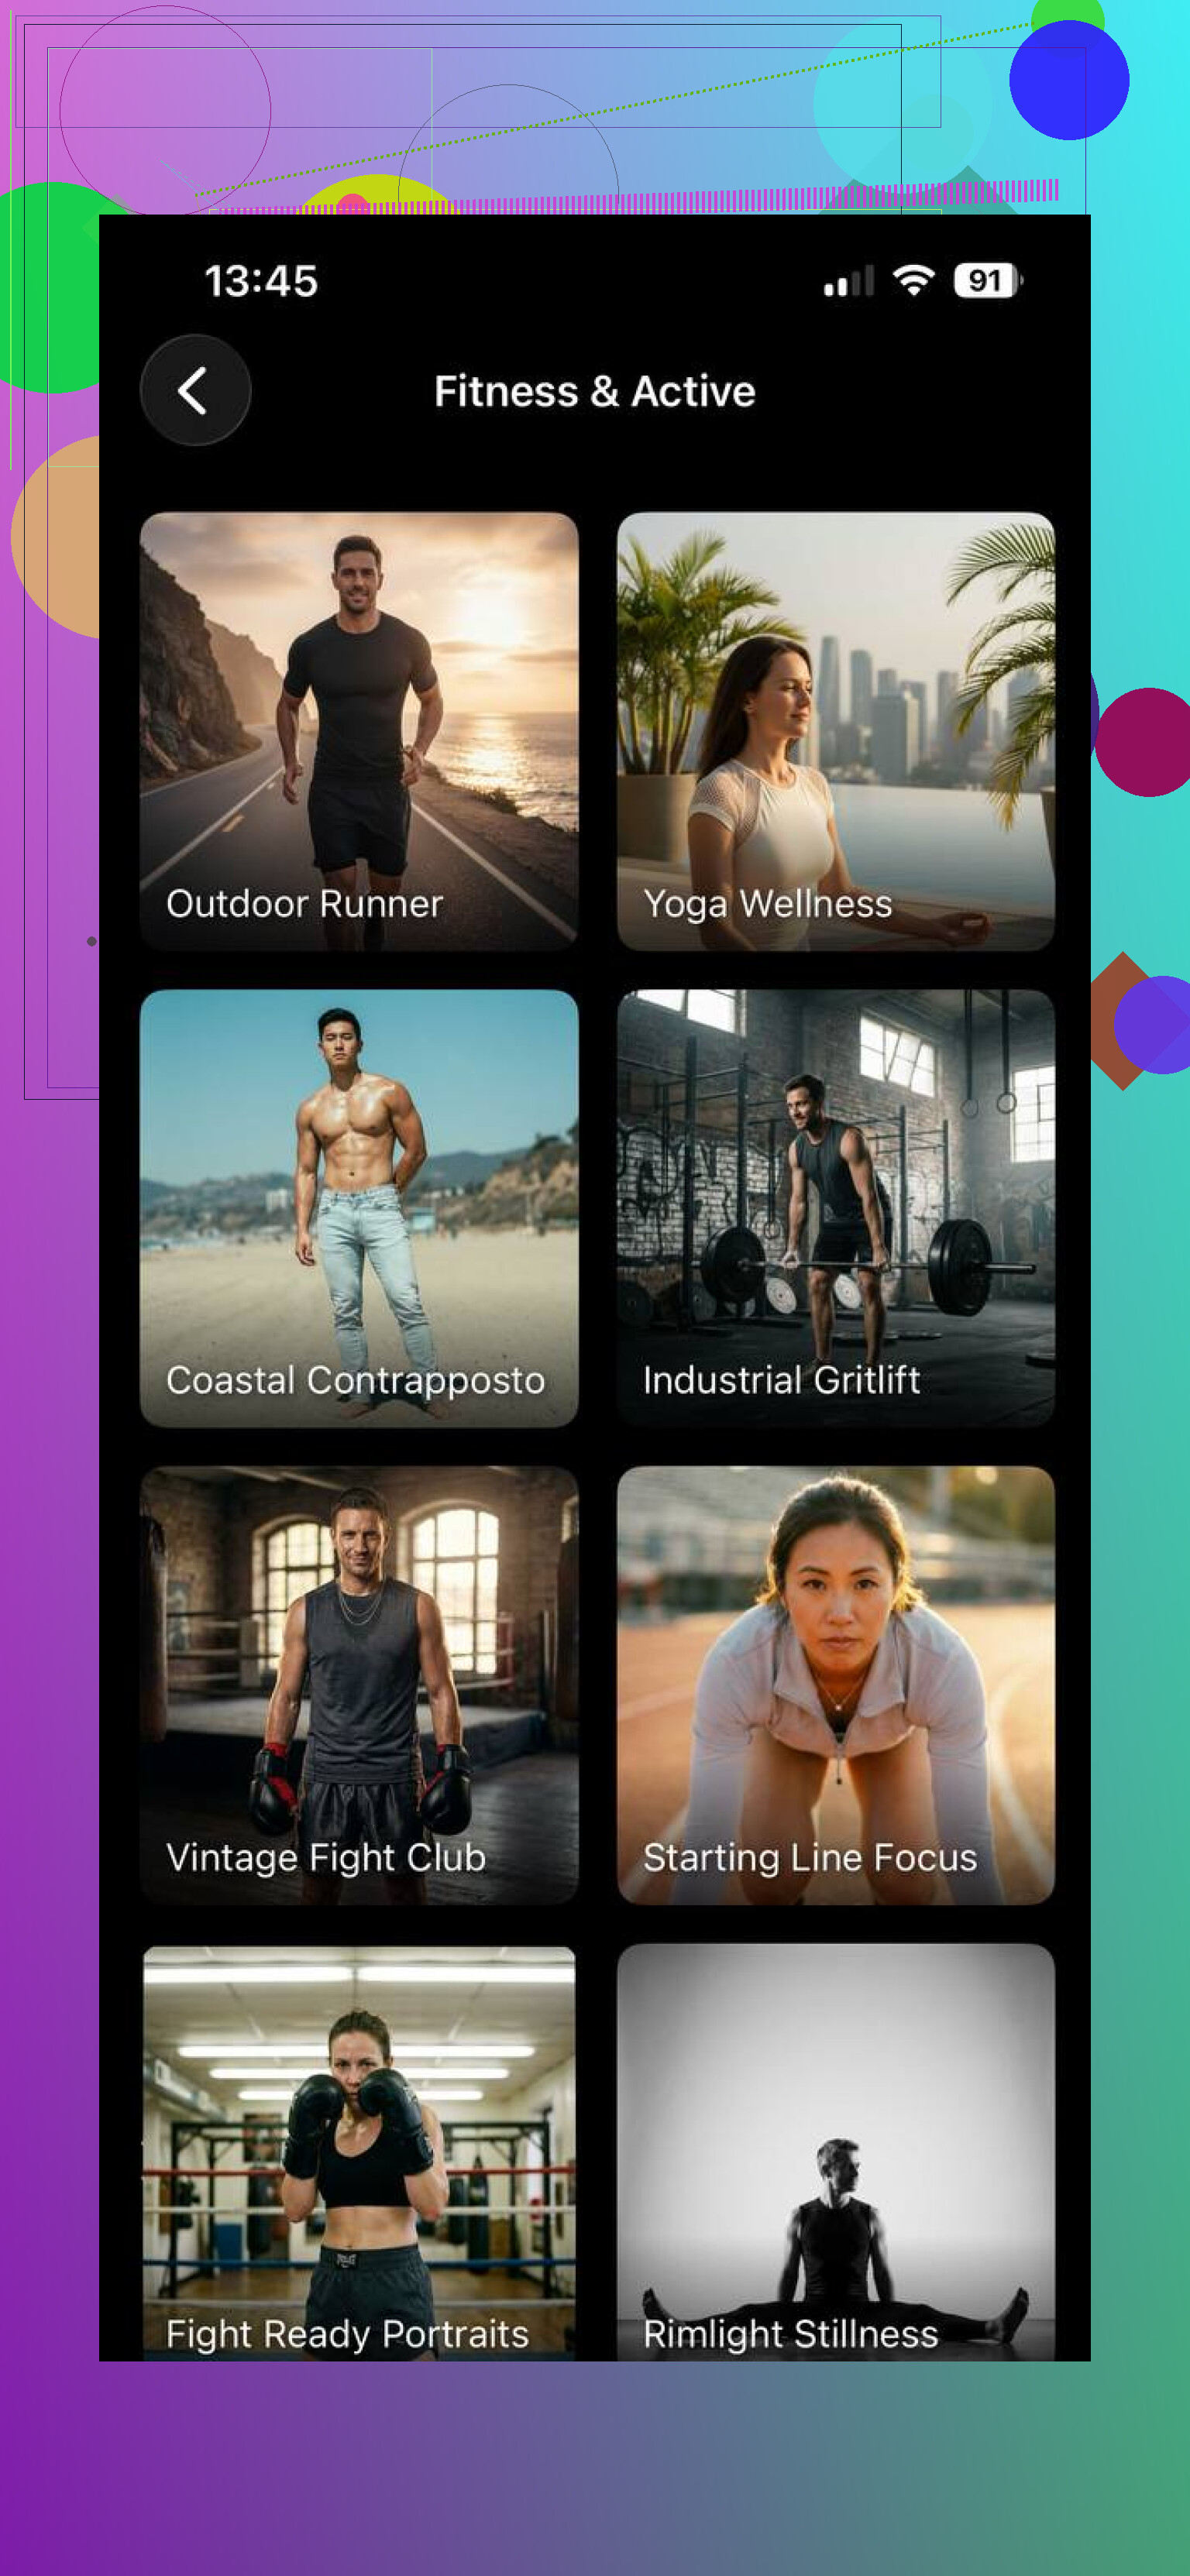
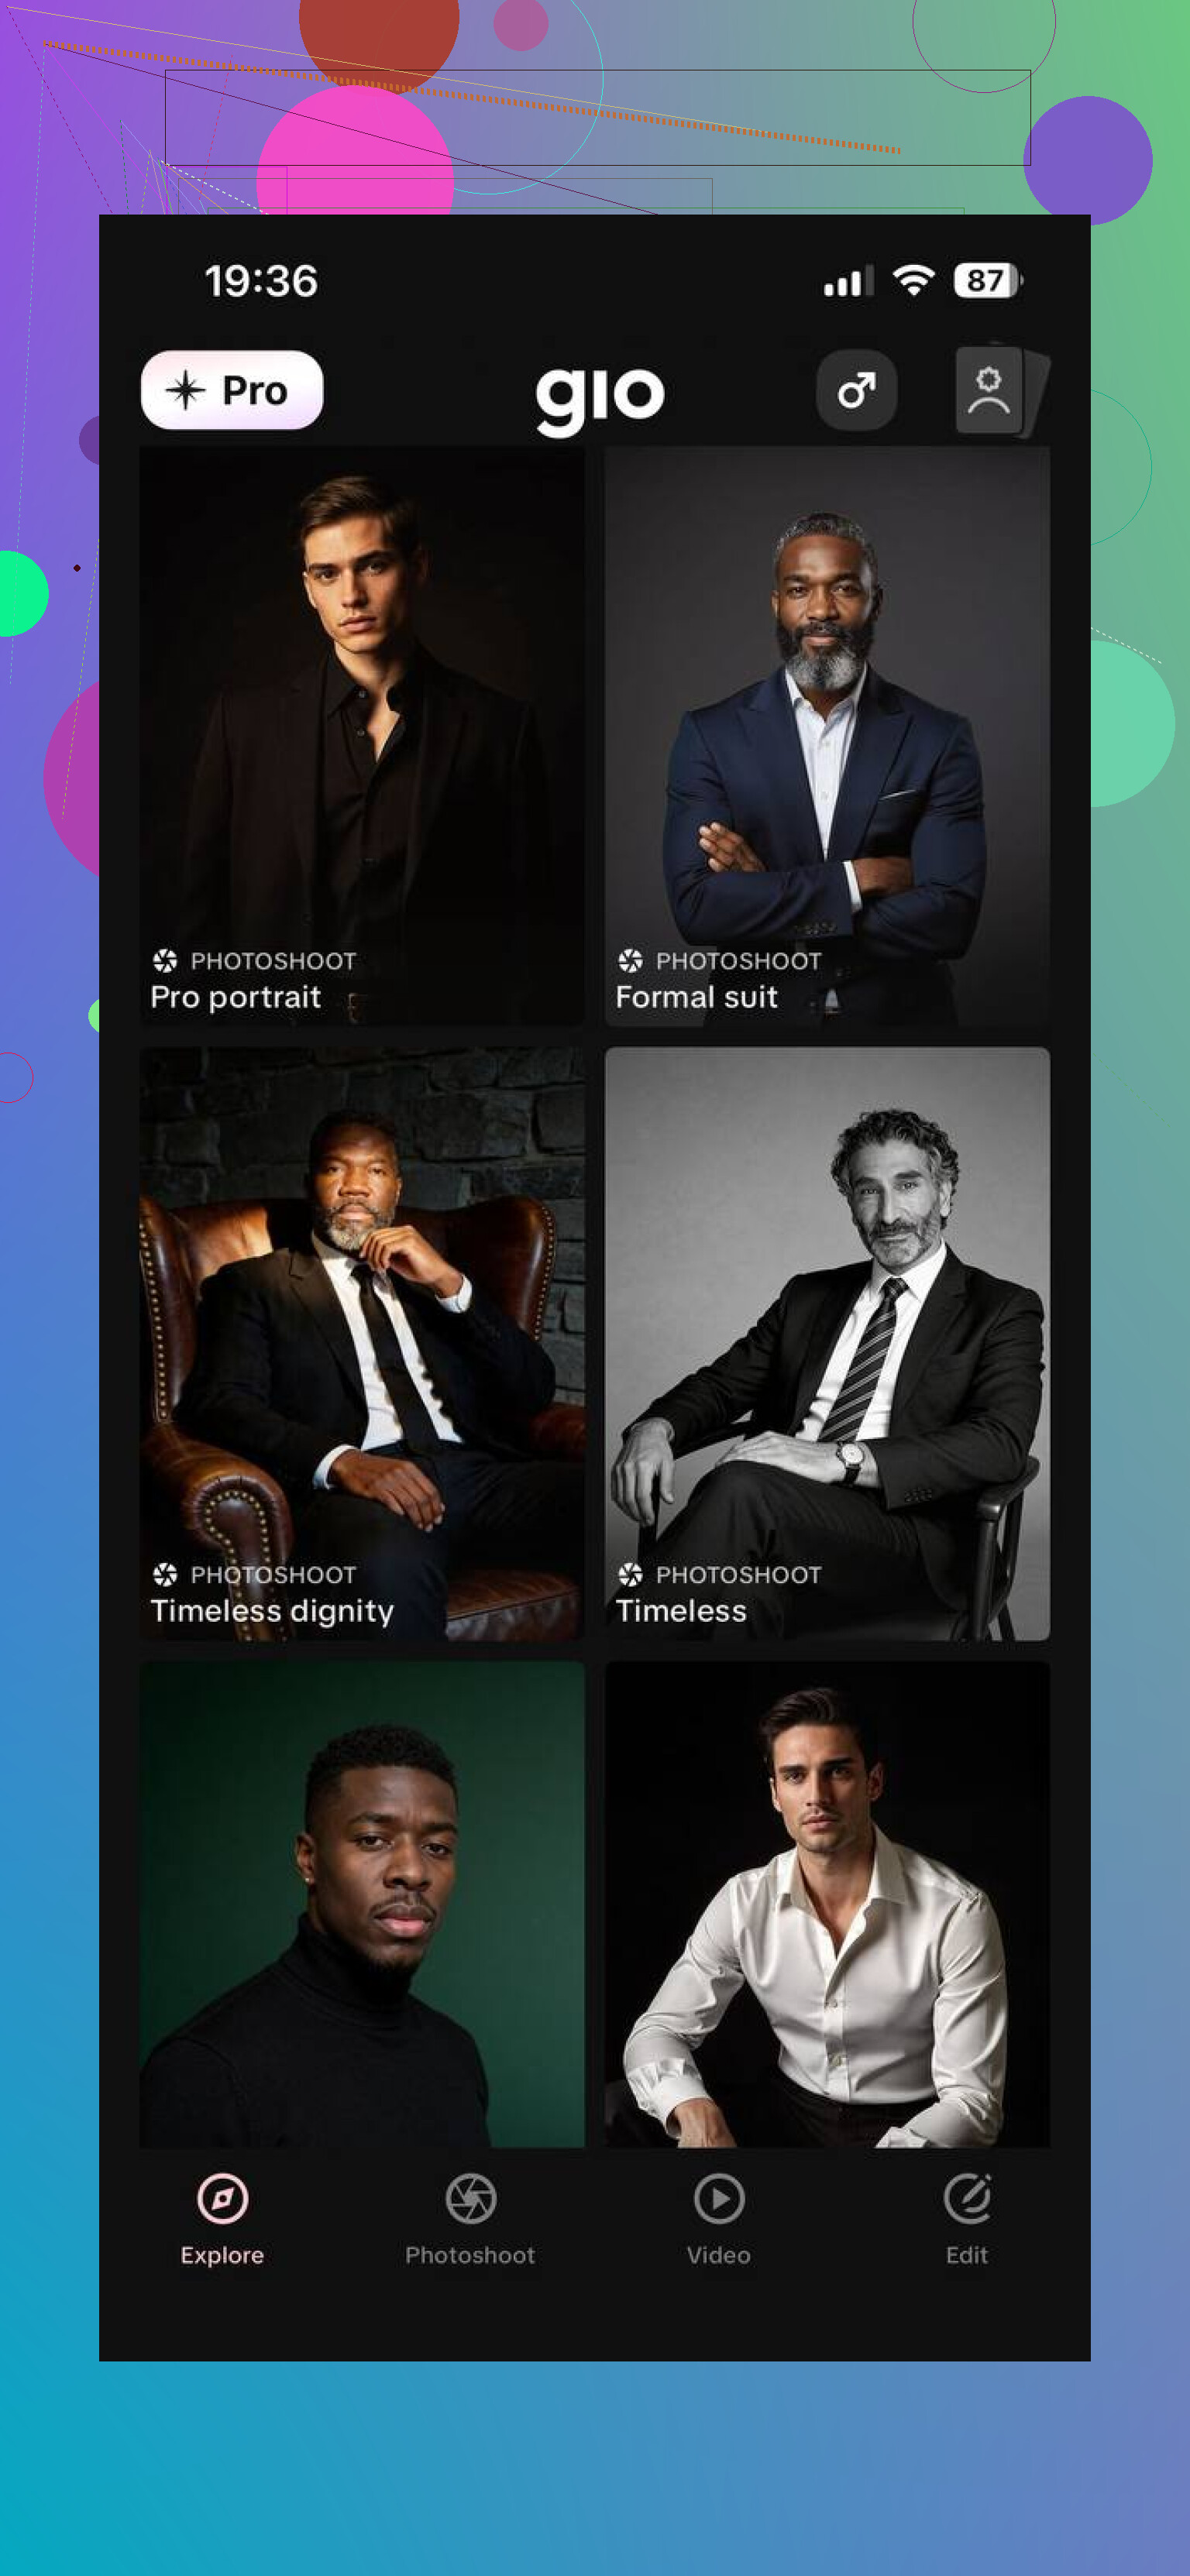
I also looked at a couple of other apps. GIO AI Photoshoot Generator leans more into prebuilt photoshoot templates, so it felt faster if you already knew the vibe you wanted. Lensa AI is still one people bring up a lot because of its portrait styles and built-in editing tools. If you’re comparing apps instead of sticking with one, those two are worth trying.
What helped me get cleaner results:
- Use recent selfies
- Skip sunglasses
- Avoid heavy filters
- Upload photos with different expressions
- Change backgrounds between shots
- Keep the lighting clean and even
From what I saw, the input matters more than people think. Bad source photos gave me plastic-looking outputs. Better selfies fixed most of it.
So yeah, if your goal is job profiles, casual profile pics, or filler content for socials, this setup works fine. I had good results with Eltima AI Headshot Generator app. It saved me time for work photos and a few personal ones too.
Blurry results usually come from the model choice and prompt structure, not only your selfies. I slightly disagree with @mikeappsreviewer on one point. More source photos is not always worse. For training an avatar model, 8 to 15 clean photos often beats 1 to 3, if the tool supports it.
Best tool depends on your goal.
For photoreal people:
Midjourney, Flux, Ideogram, Leonardo. Midjourney often gives the best lighting. Flux tends to look less waxy if prompted well.
For your own face:
Use an app with face training, or use a LoRA workflow in Flux or Stable Diffusion if you want more control. Harder setup, better output.
Prompt format matters a lot:
subject, camera, lens, lighting, setting, pose, details, quality
Example:
portrait of a 28 year old man, natural skin texture, shot on 85mm lens, soft window light, office background, looking at camera, realistic eyes, detailed hair, photorealistic, high detail
Negative prompt:
blurry, extra fingers, smooth plastic skin, bad teeth, warped eyes, low detail, oversharpened
Tips:
Use aspect ratio close to photos, 4:5 or 3:4.
Ask for natural skin texture.
Avoid words like “beautiful” and “perfect”.
Use camera terms.
Keep prompts under 40 to 60 words at first.
If faces keep looking fake, lower stylization. Too many users overprompt and then blame the tool. I did the same thing lol.
I’d split this into 2 paths, because people keep mixing them up.
- “Make AI photos of me”
- “Make realistic AI photos in general”
@techchizkid covered prompts pretty well, but I actually disagree a bit on keeping prompts super short all the time. Short prompts help when you’re learning, sure. But if the model keeps giving generic stock-photo sludge, adding very specific constraints helps more than trimming words.
What changed results for me was not the app first. It was this stuff:
- stop asking for “ultra realistic”
- describe flaws on purpose
- generate bigger, then upscale separately
- use reference images if the tool supports them
- do 20 to 40 variations, not 4
Real photos have imperfections. AI gets fake-looking when you accidentally ask for perfection. So instead of:
“beautiful perfect woman professional photo”
try:
“candid office portrait, 35mm photo, slight under eye texture, natural skin pores, uneven hair strands, soft daylight from left window, neutral expression, shallow depth of field”
That “slight under eye texture” type of detail weirdly helps a lot.
Also, blurry outputs are often from the platform’s default enhancer. People blame the generator, but the built-in “beautify” pass is sometimes the real culprit lol. Turn that stuff off if possible.
If you want best realism with least effort:
- Midjourney for overall image quality
- Flux for realistic faces with more control
- Stable Diffusion if you’re willing to tinker
- face-training apps if you specifically want yourself
On @mikeappsreviewer’s point about selfie quality, yes, but I think variety matters as much as cleanliness. If every source pic has the same smile and angle, the model gets dumb fast.
One more trick: judge realism at 100% zoom. If it only looks good from far away, it’s probly not actually good.
I’d troubleshoot the workflow before switching tools again.
My slight disagreement with @techchizkid and @sonhadordobosque: realism is not only prompt quality or training set variety. A lot of blur comes from resolution mismatch and post-processing. If the app generates small, then auto-upscales with face smoothing, you get that fake polished look even from decent prompts.
What I’d do:
-
Pick one lane
If you want yourself, use a face-trained app. If you want generic realistic people, use Midjourney, Flux, or SD workflows. -
Lock your test scene
Use the same prompt idea across tools so you can compare fairly:
“natural indoor portrait, 50mm photo, soft daylight, realistic skin texture, subtle imperfections, sharp eyes, plain background” -
Turn OFF beauty features
A lot of apps ruin faces with auto retouching. -
Fix output size first
Generate at native high res, then upscale separately only if needed. -
Use image-to-image or reference strength carefully
Too high and faces melt. Too low and likeness disappears.
On the product title, pros for ’ are simplicity and readability if it’s a beginner-facing tool list or comparison page. Cons are that it tells me nothing specific, so it’s weak for trust unless paired with an exact app or workflow name.
@mikeappsreviewer is right that input photos matter, but I would not overfocus on selfies alone. Sometimes one clean non-selfie portrait beats ten phone shots.