My hard drive started making strange noises and now some files won’t open because of bad sectors. I have important photos and work documents on it, and I’m worried the drive is getting worse. What should I do first to recover data safely without causing more damage?
Hard drive with bad sectors? I dealt with this once, and the first mistake I made was leaving the drive powered on while I searched for answers. Don’t do that. If the disk is failing, every extra read or write puts more strain on it.
If it’s an external drive, unplug it now. If it’s inside your PC, stop booting from it and use another machine for anything you need to look up.
Bad sectors usually fall into two buckets.
Soft bad sectors are logic errors. The data and the error correction info no longer line up, often from a bad shutdown or file system mess. These are sometimes repairable.
Hard bad sectors mean physical damage on the disk itself. Age, shock, heat, wear, any of those. If you hear clicking, grinding, or odd beeps, I’d stop there. I would not run repair tools on a drive making noise. At that point you’re in lab territory.
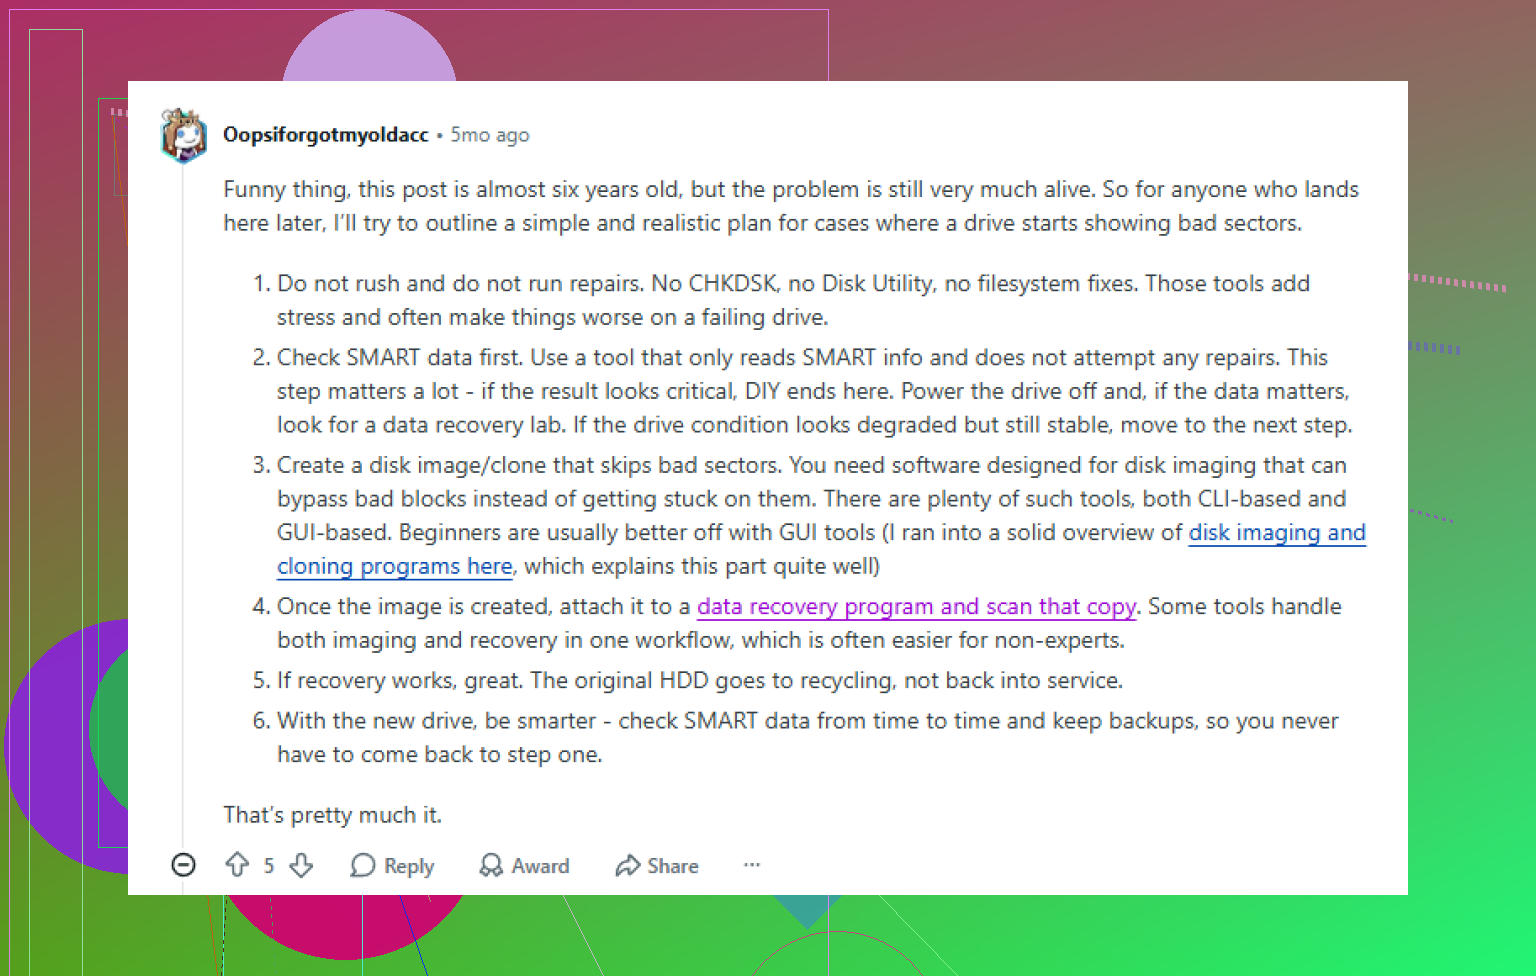
If the drive still shows up in the system and it’s only throwing errors or slowing to a crawl, your best move is to image it first. I’m talking about a full byte-for-byte copy, not a normal file copy.
Why I’d do it this way:
- Recovery scans hit the disk hard
- Failing drives often die mid-scan
- An image lets you work from a copy instead of the original
- You get one controlled pass across the disk instead of repeated abuse
What worked better for me was making the image on a healthy computer, saving it to another healthy drive, then putting the bad disk aside.
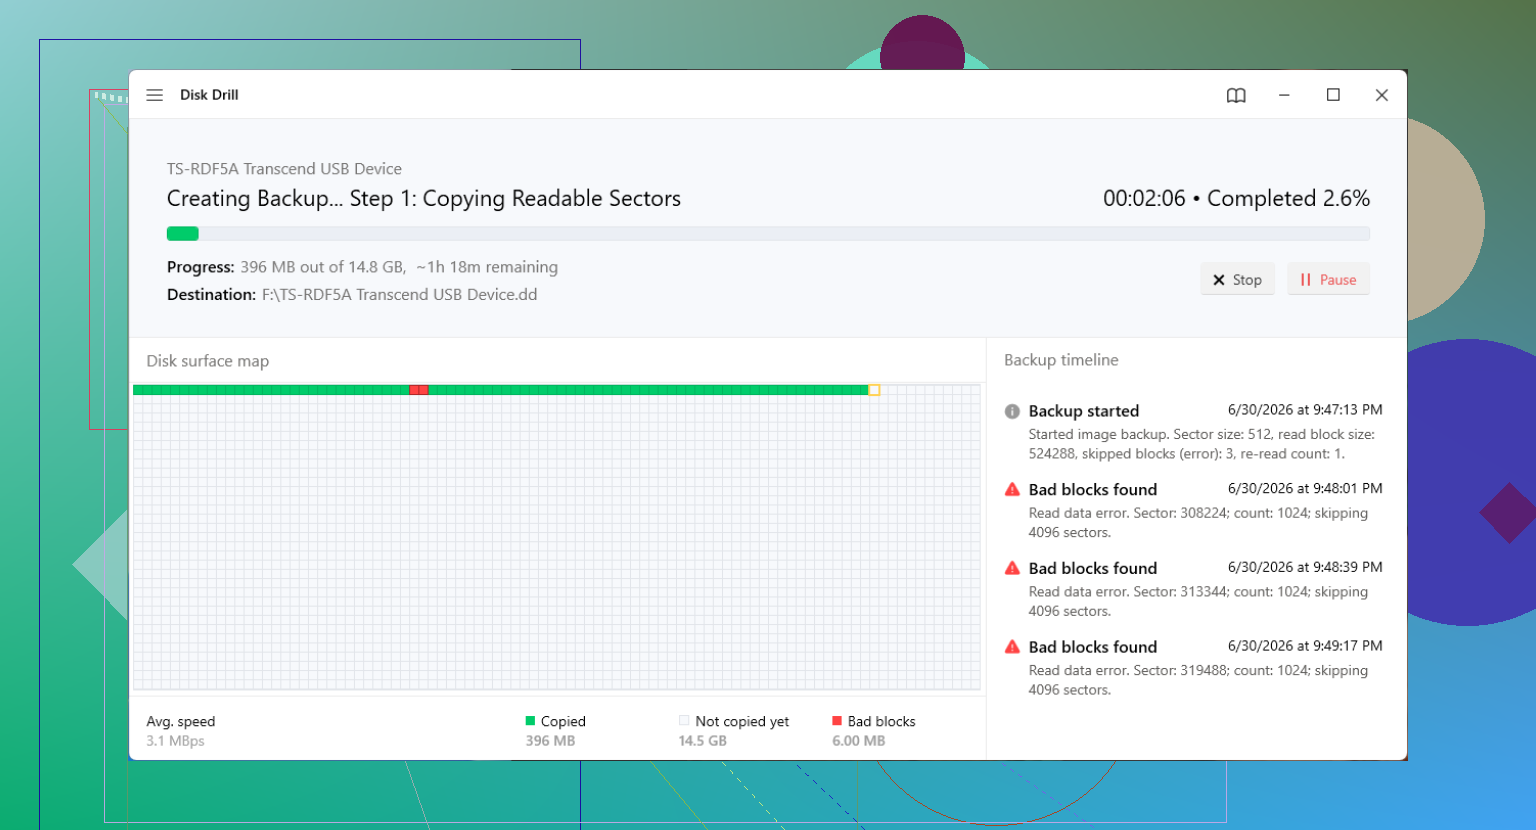
One tool people keep using for this is Disk Drill. The reason it gets mentioned in this case is the byte-to-byte backup feature. It was built for unstable drives, and newer versions handle bad blocks in a smarter way by skipping problem areas first, then retrying with smaller block sizes. That part matters more than the glossy feature list. If your disk is flaking out, you want fewer heavy passes.
The rough process looks like this:
What I would do
- Install the recovery software on a good computer, not on the system with the failing drive.
- Connect the bad drive and a separate healthy drive with enough free space for the image.
- Use the Drive Backup or byte-to-byte image feature.
- When the image finishes, disconnect the failing disk.
- Load or attach the image file in the software.
- Scan the image, not the original drive.
- Recover files to a different healthy disk.
If you get your files back and now you’re thinking about reusing the drive, I’d keep my expectations low. You can try repair steps on Windows:
Repair attempts after recovery
- Run chkdsk /r in PowerShell or Command Prompt
- Do a full format, not a quick one
Those steps tell Windows to test sectors and mark damaged areas so the file system avoids them. Sometimes the drive limps along after this. I still wouldn’t store anything important on it. Once bad sectors start showing up, I treat the drive like it’s already on borrowed time.
A few signs I’d stop messing with software:
- The drive is not detected at all
- It disconnects randomly
- It makes mechanical noise
- Imaging fails almost immediately
- SMART stats show rapid growth in reallocated or pending sectors
At that stage, the next option is professional recovery. It’s expensive. I’ve seen quotes from around $500 up to $3,000, sometimes more, depending on damage and whether parts need to be swapped in a clean environment.
For later, set up a 3-2-1 backup plan. Three copies of your data, two storage types, one copy off-site. I ignored this advice for years. Then one drive started clicking and I stopped arguing with the rule.
If the drive is making strange noises, stop trying to open files from it. I agree with @mikeappsreviewer on the big point, don’t keep poking at it. Where I differ a bit is CHKDSK. I would not run chkdsk /r early on a sick drive. It reads the whole disk and writes metadata. On a weak HDD, that sometmes makes things worse.
My order would be:
- Power it down.
- Check SMART from another system, with a read-only tool if possible.
- If SMART shows lots of pending, reallocated, or uncorrectable sectors, treat it like end-stage hardware failure.
- If data matters, clone first with a recovery-oriented tool.
- Recover from the clone or image, not the source.
Disk Drill fits here because you can create a byte-level backup, then scan the image for photos and documents. That keeps the failing drive out of the loop after the first pass. Save recovered files to a different disk, not back to the bad one.
If the noise is clicking or grinding, skip software experiments and look at a lab. Head damage gets worse fast.
For a solid thread on recovering data from bad blocks, this reddit discussion on recovering files from bad sectors on a failing drive is worth reading.
After recovery, replace the drive. Don’t trust it agian.
Strange noises changes the math. Bad sectors alone can be a software headache, but noise usually means the drive is physically failing, not just “Windows got confused.” So I mostly agree with @mikeappsreviewer and @reveurdenuit on stopping normal use, but I’d go even more conservative on one point: don’t keep reconnecting it over and over “just to see if it works now.” That’s how people turn partial recovery into zero recovery.
What I’d do first:
- Stop opening files from it
- Do not run defrag
- Do not copy stuff manually folder by folder
- Do not install anything onto that drive
- Keep it cool and powered off until you’re ready for one recovery attempt
If the data is very valuable, family photos, business docs, stuff you cannot replace, the safest move is honestly a pro lab right now if it’s clicking/grinding. Software is for drives that are failing but still semi-stable. Mechanical noise is a differrent beast.
If you’re not doing a lab, use another computer and connect the drive only long enough to capture data. I’d prioritize the most important files first if the drive won’t survive a full image. That’s the one place I slightly differ from the “always image first” crowd. In theory, imaging is best. In practice, if the drive is dying fast and you only need one folder of irreplaceable photos, triage can beat perfection.
If it stays detected long enough, Disk Drill is a reasonable option because it can make a byte-level backup of the failing disk and then let you recover from the image instead of hammering the original over and over. That’s the part that matters most here, not fancy marketing screens. Save anything recovered to a totally different drive.
Also, check the connection before assuming the worst. A bad USB cable, weak enclosure, or power issue can make a healthy-ish drive act worse than it is. Not likely if it’s making noises, but worth 2 minutes.
If you want a simple explainer on Disk Drill’s backup and recovery workflow, this video is decent: see how Disk Drill handles failing drive recovery
After recovery, retire the drive. Not “use for non-important files,” not “as a spare,” retire it. Dead men don’t get healthier.