I accidentally emptied the Recycle Bin on my Windows PC and realized some important files were still in it. I need help figuring out the safest way to recover deleted files after emptying the Recycle Bin without overwriting anything.
First thing: stop using that drive as much as you can. That matters more than anything else. When you delete something in Windows, even after emptying the Recycle Bin, the data usually is not erased right away. Windows just marks that space as free, which means new files can overwrite it.
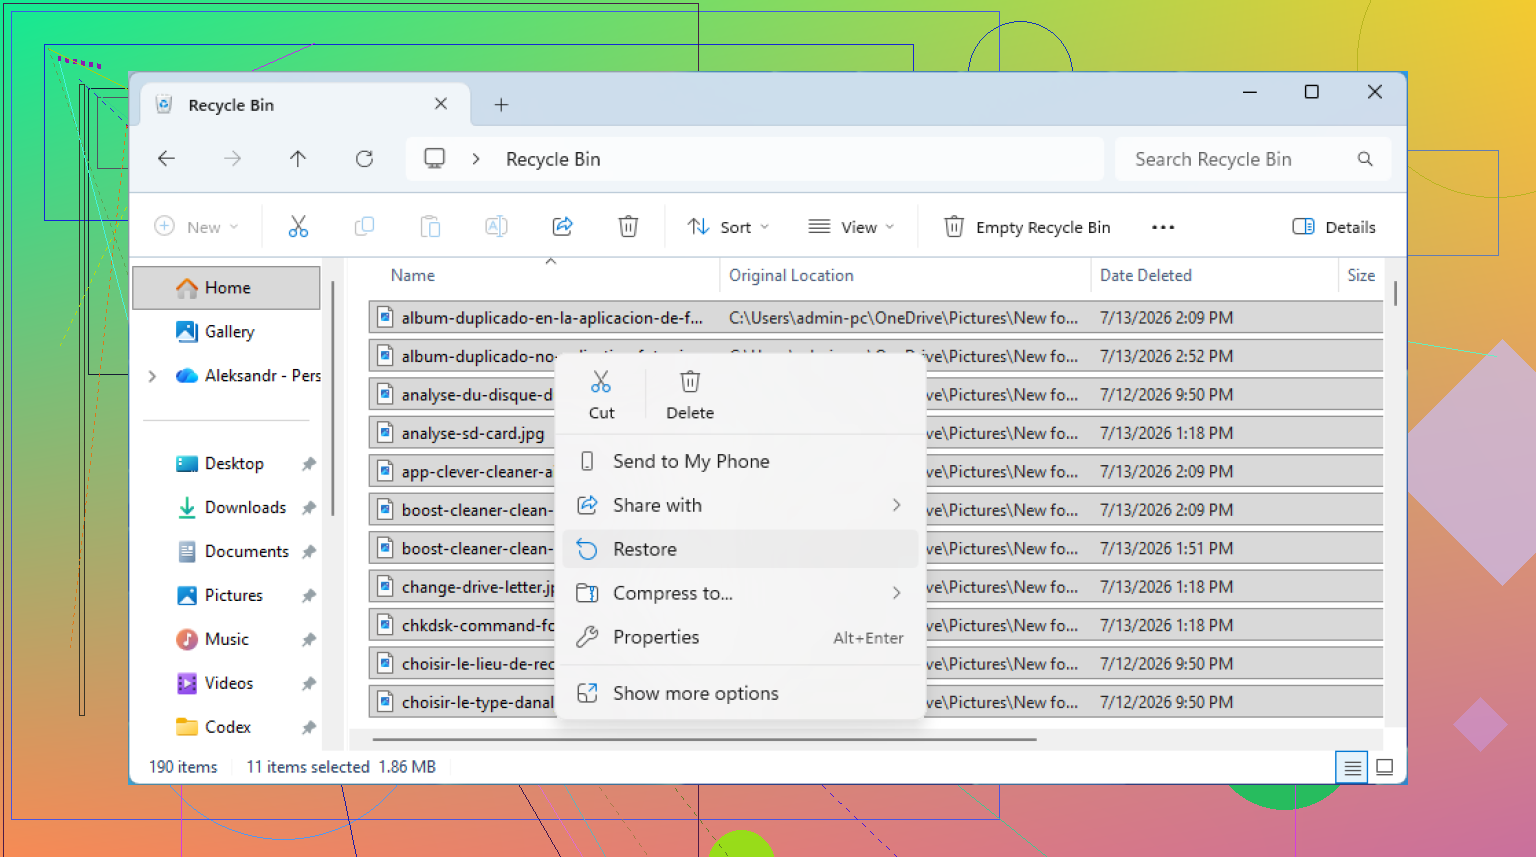
Before getting into recovery tools, check the Recycle Bin again anyway. It sounds obvious, but it happens. Sometimes the bin was not actually emptied, or the file was inside a deleted folder and is easy to miss. Open the Recycle Bin from the desktop, look around, and if the file is there, right-click it and choose Restore. Windows should put it back where it came from.
If the Recycle Bin is really empty, do not download random stuff to that same drive. Do not save files there. Even normal browsing can create temporary files, and those can overwrite the deleted data you are trying to recover.
If you had backups turned on, check File History first. It is built into Windows and can save older versions of folders like Documents, Pictures, and Desktop. Go to the folder where the file used to be, right-click it, and choose Restore previous versions. From there, you can look through older dates and copy the missing file back.
You can also get to it through Control Panel > System and Security > File History, then choose Restore personal files if you want to browse the backups that way.
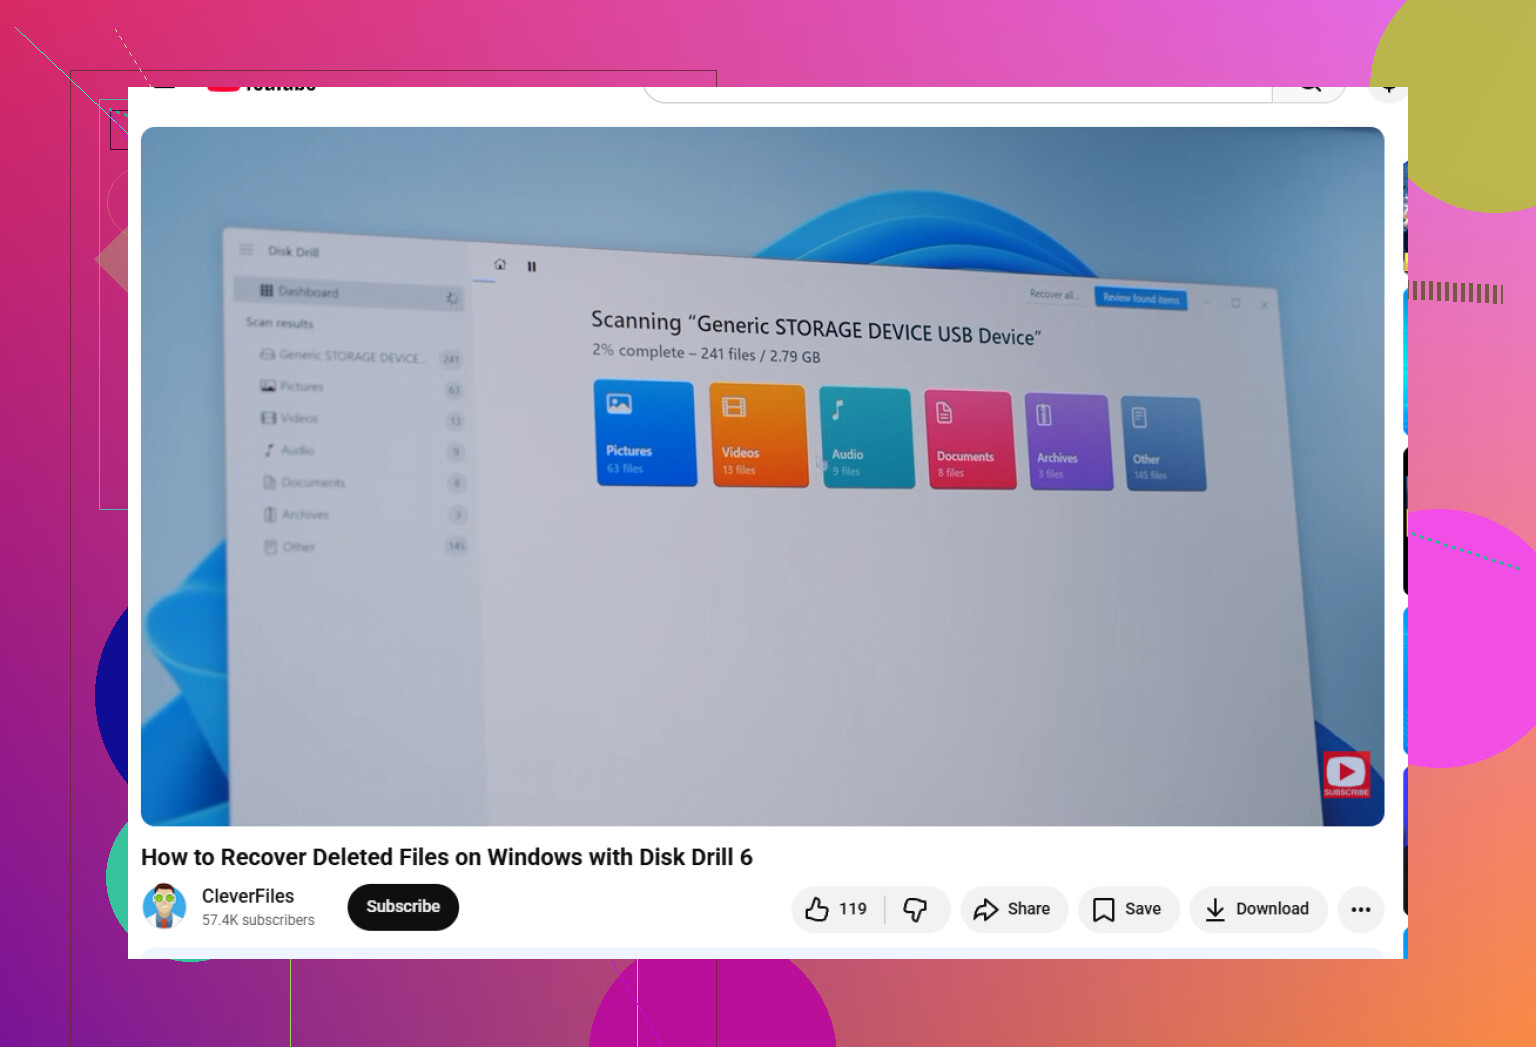
If there is no backup, a recovery tool is probably your next option. Disk Drill is usually a solid choice because it is straightforward but still does a pretty deep scan. It supports common file systems like NTFS and FAT32, and it can recover things like photos, videos, documents, and other file types.
The important part is where you install it. If the deleted files were on your C: drive, do not install Disk Drill on C:. Put it on a USB drive or external drive instead. Otherwise, the installer itself could overwrite the deleted files.
Basic process:
- Install it somewhere safe. Use a drive other than the one you are recovering from.
- Select the original drive. Open Disk Drill, pick the drive where the files were deleted, and click Search for lost data.
- Let it scan. The deeper scan can still find files even when the folder structure is damaged.
- Preview before recovering. If a photo or document previews correctly, that is usually a good sign it can be restored.
- Recover to another location. Save the recovered files to an external drive or some other separate location, not back onto the same drive.
The Windows version lets you recover up to 100MB for free, which may be enough if you only need a few important files.
One catch: if the deleted files were on an SSD, recovery can be much harder because of TRIM. TRIM helps SSDs stay fast by clearing deleted data blocks, so the longer you keep using the computer, the worse your chances may get.
If the files matter, stop using the PC and scan the drive as soon as possible.
Check OneDrive or whatever cloud sync you use before running recovery scans. A lot of Windows PCs silently sync Desktop, Documents, and Pictures, so the “deleted” file may still be in the OneDrive web recycle bin or version history even after the local Recycle Bin was emptied. That is safer than scanning the disk because you are not writing anything to the drive you are trying to recover from. If it is not there, then I agree with the earlier advice: stop using the PC and recover to another drive. Disk Drill or a similar tool is fine, but do not let any recovery program “fix” the drive or save recovered files back onto C:. That is where people accidentally make the damage worse.
Power the PC off now if the missing files were on the internal drive, then plan the recovery from another machine or bootable USB. The biggest mistake is treating the computer like normal while you “figure it out,” because Windows updates, browser cache, thumbnails, and app temp files can all write over the same space.
A step people often skip is making an image or clone of the drive first, especially if the files are valuable. Scan the copy, not the original. That way if a recovery tool crashes, the drive starts acting weird, or you pick the wrong option, you still have the untouched source. This matters more on hard drives, but it is still a safer habit in general. If it is an SSD and TRIM already cleared the blocks, no program is going to magically rebuild those files, so keep expectations realistic.
Disk Drill is fine for a normal user scan, but I would use it in read-only mode and recover to an external drive only. Don’t “repair,” “clean,” initialize, or format anything if Windows pops up a message. If the files are business-critical or irreplaceable, skip the experimenting and take the drive to a recovery shop before running a bunch of scans on it. More scans are not always better when the original drive is the only copy left.
Pull the drive out of normal use and write down the original file names, file types, and where they used to live before you start scanning. That sounds boring, but it helps a lot because recovery results can be messy. After the Recycle Bin is emptied, you may not get the nice folder path or original filename back. You might see hundreds of “recovered_doc_001” type files, especially from a deep scan.
I agree with @mikeappsreviewer on not saving anything back to the same drive, but I would not jump straight into the biggest scan unless you have to. If you know the files were Word docs, PDFs, photos, etc., filter by type and date first. A smaller targeted scan can save you from digging through browser cache, thumbnails, and random temp files that look “recoverable” but are useless.
Disk Drill is fine for this kind of search if you keep it to scan/recover only and send the recovered files to another drive. The preview feature matters more than the recovery count. If the file previews correctly, that is a better sign than a tool claiming it found 40,000 files. If it was on an SSD, keep expectations low because TRIM may have already wiped the contents. On a regular hard drive, your chances are usually better as long as nothing has overwritten that space yet.