My external hard drive suddenly changed from NTFS to RAW after a restart, and now Windows says I need to format it before I can use it. The drive has important files I can’t replace, so I need help figuring out if there’s a safe way to convert RAW to NTFS without data loss or if I should try recovery first.
I ran into this with an external drive a while back, and the main thing to get straight first is what RAW usually means. Most of the time, the disk did not turn into some new format. Windows simply stopped recognizing the NTFS file system. I saw it happen after a bad unplug, once after a power cut, and once during a file move when Windows froze. Other common causes are file system corruption, weak sectors, or flaky hardware around the drive, like the USB cable, enclosure, or controller. The good news is simple, RAW does not mean your files are dead. A lot of the time, the data is still sitting there, but the NTFS structure is damaged badly enough for Windows to give up on reading it.
If you want the lowest-risk path, recover the data first. Format later. I would do it in this order.
- Do not format the drive, even if Windows keeps nagging you to do it.
- Try another setup first. Plug it into a different USB port. Test it on another computer. Swap the cable if you have one nearby. I’ve seen a bad cable fake a bigger problem.
- If it still shows up as RAW, recover the files before touching the partition. One tool I’ve had decent luck with is Disk Drill. It tends to handle RAW partitions well, and the layout is easy enough if you do not want to fight the software too.
- If the drive looks unstable, make an image first. By unstable, I mean random disconnects, weird noises, long hangs, or transfer speed falling off a cliff. In Disk Drill, open Extra Tools > Byte-to-byte Backup. Save the image to a different healthy drive. Then mount or attach the image and scan the image file instead of hammering the original disk over and over.
- Run a Universal Scan, check the preview, and recover the files to a separate drive. Do not write them back onto the RAW disk. I know it sounds obvious, but people do it, then things get worse fast.
- Once your files are safe, format the RAW partition back to NTFS. You can do it from File Explorer, Disk Management, or DiskPart, whichever you trust more.
- Move your recovered files back onto the fresh NTFS volume.
Some extra stuff matters here.
- A RAW result by itself does not prove the hardware is finished. I’ve seen plenty of drives go RAW from file system damage alone, with no serious hardware fault behind it.
- If SMART says Good, fine, take it as a decent sign. Still, SMART only says something about the drive’s physical health. It says nothing useful about whether the NTFS file system is readable.
- I would not touch CHKDSK or TestDisk before getting important files off. CHKDSK usually refuses RAW volumes anyway. TestDisk has its place, sure, but it writes changes to disk structures directly. If your data matters, I would secure it first and play repair games later.
So no, there is not some clean in-place RAW-to-NTFS switch where everything stays untouched. What does work, and I’ve done this myself, is recovering the files first, then formatting the drive back to NTFS, then copying the data back. Slower, yeah. Safer too.
No clean RAW to NTFS conversion keeps files in place. RAW usually means Windows lost the NTFS map, not your data. So treat it like file system damage, not a format change.
I agree with @mikeappsreviewer on one big point, do not format first. I part ways a bit on repairs. If the drive is stable and the files matter more than the partition itself, I’d skip any in-place “fix” attempts early on. Repair tools sometimes make recovery worse if the damage is messy.
What I’d do:
-
Check Disk Management.
If the partition size looks correct, your data often still exists. -
Read SMART with CrystalDiskInfo.
If you see reallocated sectors, pending sectors, or CRC errors, stop messing with the drive. -
Clone it first if health looks shaky.
Use ddrescue if you know Linux. If not, Disk Drill is easier for most people and works well on RAW partitions. -
Recover files to another disk.
Not back to the same one. This is where ppl slip up. -
After recovery, delete the RAW volume and format NTFS.
One more thing. If the drive went RAW after a restart, I’d suspect the enclosure or USB bridge too, not only the disk. I’ve seen cheap enclosures fake “dead drive” symptoms.
For a cleaner breakdown, this thread covers fixing a RAW drive and restoring NTFS access without losing your files, how to convert a RAW drive to NTFS without losing data.
Short version, recover first, format later. Trying to “convert” first is the risky move.

RAW is usually a symptom, not a real “conversion.” So yeah, I’d push back a tiny bit on the wording: your drive probably did not become RAW, Windows just lost the ability to read the NTFS metadata.
I mostly agree with @mikeappsreviewer and @byteguru, but one place I differ is this: before jumping into a full recovery scan, check whether the partition table itself is the only broken part. If Disk Management shows the right capacity but no readable file system, that points one way. If the size is wrong or the partition vanished, that points another. That little detail matters more than ppl think.
A few things I’d do that haven’t been stressed enough:
- Check Event Viewer for disk or NTFS errors right after plugging it in.
- Look in Device Manager to see whether the USB bridge is throwing resets.
- If it’s an external HDD, remove it from the enclosure and connect it directly by SATA if possible. Enclosures lie. A lot.
- If the data is truly irreplaceable, consider making a sector clone first and put the original aside.
Also, don’t assume CHKDSK is “harmless.” It can be kinda brutal on damaged file systems. Sometimes it helps, sometimes it rearranges the wreckage.
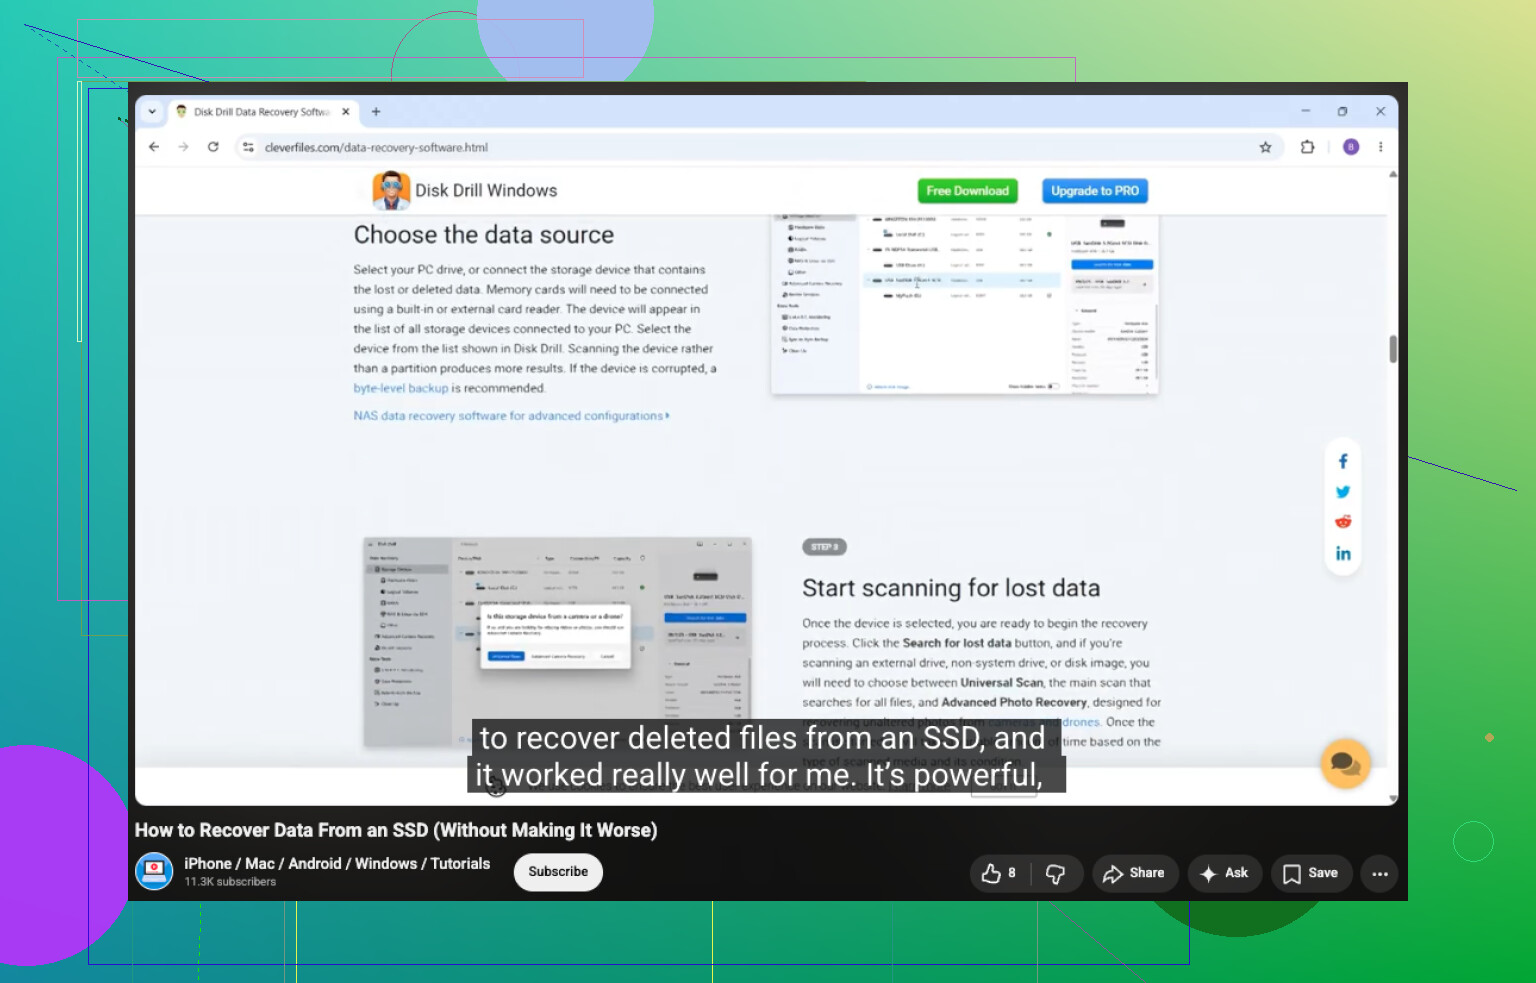
If you need file recovery, Disk Drill is a solid option for recovering data from a RAW drive before formatting back to NTFS. After the files are safe elsewhere, then wipe and reformat.
Also relevant if the disk is solid-state: watch how to recover data from an SSD safely.
Short answer: no real in-place RAW to NTFS conversion without risk. Safe path is recover, verify, then format. Annoying, yes. But less annoying than losing everything forever.
No real RAW-to-NTFS magic switch exists. I mostly agree with @byteguru, @yozora, and @mikeappsreviewer on that. Where I slightly disagree is the “always recover first” rule. If the drive is healthy and this is clearly just a broken boot sector or partition entry, a non-writing diagnosis can save time before a huge file scan. Diagnosis first, repairs later.
My take:
- RAW often means NTFS metadata is unreadable, not erased.
- If the drive keeps disconnecting, gets painfully slow, or clicks, stop using it.
- Check the partition in Disk Management and compare reported size with the label capacity.
- Use a hex viewer or partition tool in read-only mode if you know what you’re doing. If you can spot an NTFS signature, that tells you a lot without modifying anything.
- For SSDs, be extra careful. Continued power-on time can work against recovery because of TRIM behavior.
About Disk Drill:
- Pros: easy UI, good for RAW scans, can create a byte-for-byte backup, previews many file types.
- Cons: deep scans can be slow, recovery names/folders may come back messy after heavy corruption, and you still need another drive for recovered data.
So yes, Disk Drill is a practical option if you want the safest consumer route. But if SMART is bad or the enclosure is acting weird, I’d test the bare drive or clone first, not keep rescanning the original.
Bottom line: don’t “convert” RAW to NTFS in place. Verify health, recover or clone, then format.