I accidentally deleted some important documents from my Mac’s APFS drive and may have emptied the Trash before realizing it. I’m trying to avoid overwriting anything and need advice on the safest APFS data recovery options, tools, or steps to get the files back.
Since you’re dealing with APFS, the main thing is to stop using that drive right away. Don’t save anything to it, don’t install apps on it, and try not to let macOS keep running from it if you can avoid it. Deleted files can still be recoverable, but once new data lands in the same space, your odds drop fast.
The type of drive matters a lot here.
If it’s an external HDD, or an older Mac with an APFS-formatted hard drive, recovery is usually more realistic as long as the deleted data hasn’t been overwritten.
If it’s an SSD, it’s a different story because of TRIM. TRIM lets the SSD know which deleted blocks can be cleared. Once those blocks are actually erased, recovery software can’t rebuild them. So if this is an APFS SSD, don’t keep using the Mac and hope the files somehow come back. The longer it runs, the more chance TRIM has to wipe the deleted data for good. On newer macOS versions, disabling TRIM on the internal SSD usually isn’t a practical option, so speed matters.
Before jumping into recovery tools, check the simple stuff first:
- Time Machine backups.
- Available APFS snapshots.
- FileVault encryption. If the drive is encrypted, it needs to be unlocked or decrypted before most recovery software can scan it properly.
For the actual recovery, Disk Drill worked best for me. It handles APFS in a more useful way than tools that only scan for raw file signatures. If the APFS metadata is still there, you may be able to get folder structure and filenames back instead of ending up with a pile of unnamed files.
The safer process is basically:
- Install Disk Drill on a different drive, not the one you’re recovering from.
- Connect the APFS drive that has the missing data.
- Run a full scan.
- Preview files before recovering them.
- Recover to another disk, never back to the original drive.
Don’t skip the preview step. It’s a quick way to see whether the files are actually intact before wasting time recovering a bunch of broken results.
If the drive won’t mount, drops connection, or makes weird noises, I’d stop messing with it. Don’t run First Aid yet, and don’t try repairs that might write changes to the disk. Get the important data off first, then worry about fixing the drive afterward.
If this is just accidental deletion or file system corruption, the odds are much better than if the drive is physically failing.
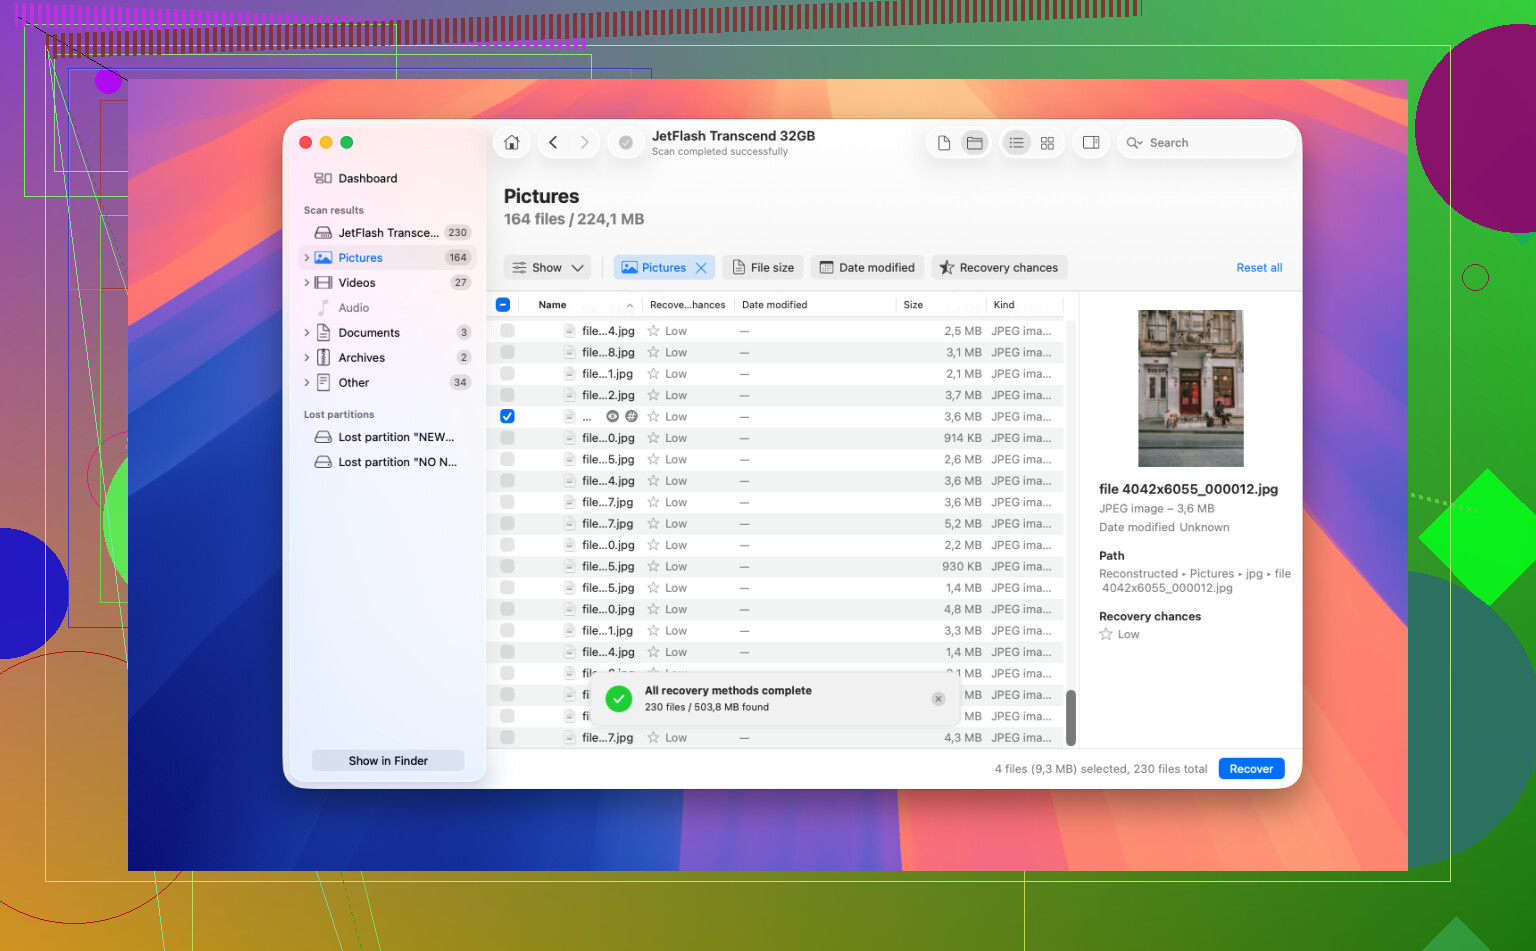
If this is the same disk your Mac boots from, I would not scan it while booted normally into that install. Shut it down and work from another Mac, an external boot drive, or at least recovery mode with a separate destination disk ready. Disk Drill is fine to try, but the missing step people skip is making an image/clone first when the data matters. Scan the copy if you can, not the only copy of the problem drive. If it is an internal SSD and TRIM already ran, keep expectations low, but checking Time Machine and APFS snapshots is still worth doing before paying for anything.
Don’t reinstall macOS, run cleanup apps, or “make space” on that drive while you’re trying to recover the files. A thing people forget with Documents on newer Macs is iCloud Drive/Desktop & Documents sync. If that was enabled, check iCloud.com’s Recently Deleted and the Files app recently deleted area before doing paid recovery scans. That can save you a lot of risk and time. If it was local-only, then I agree with @mike34’s image-first advice, but I’d treat Disk Drill or any scanner as a read-only inspection tool until you have another disk ready. The worst move is finding recoverable files and then saving them back onto the same APFS volume.
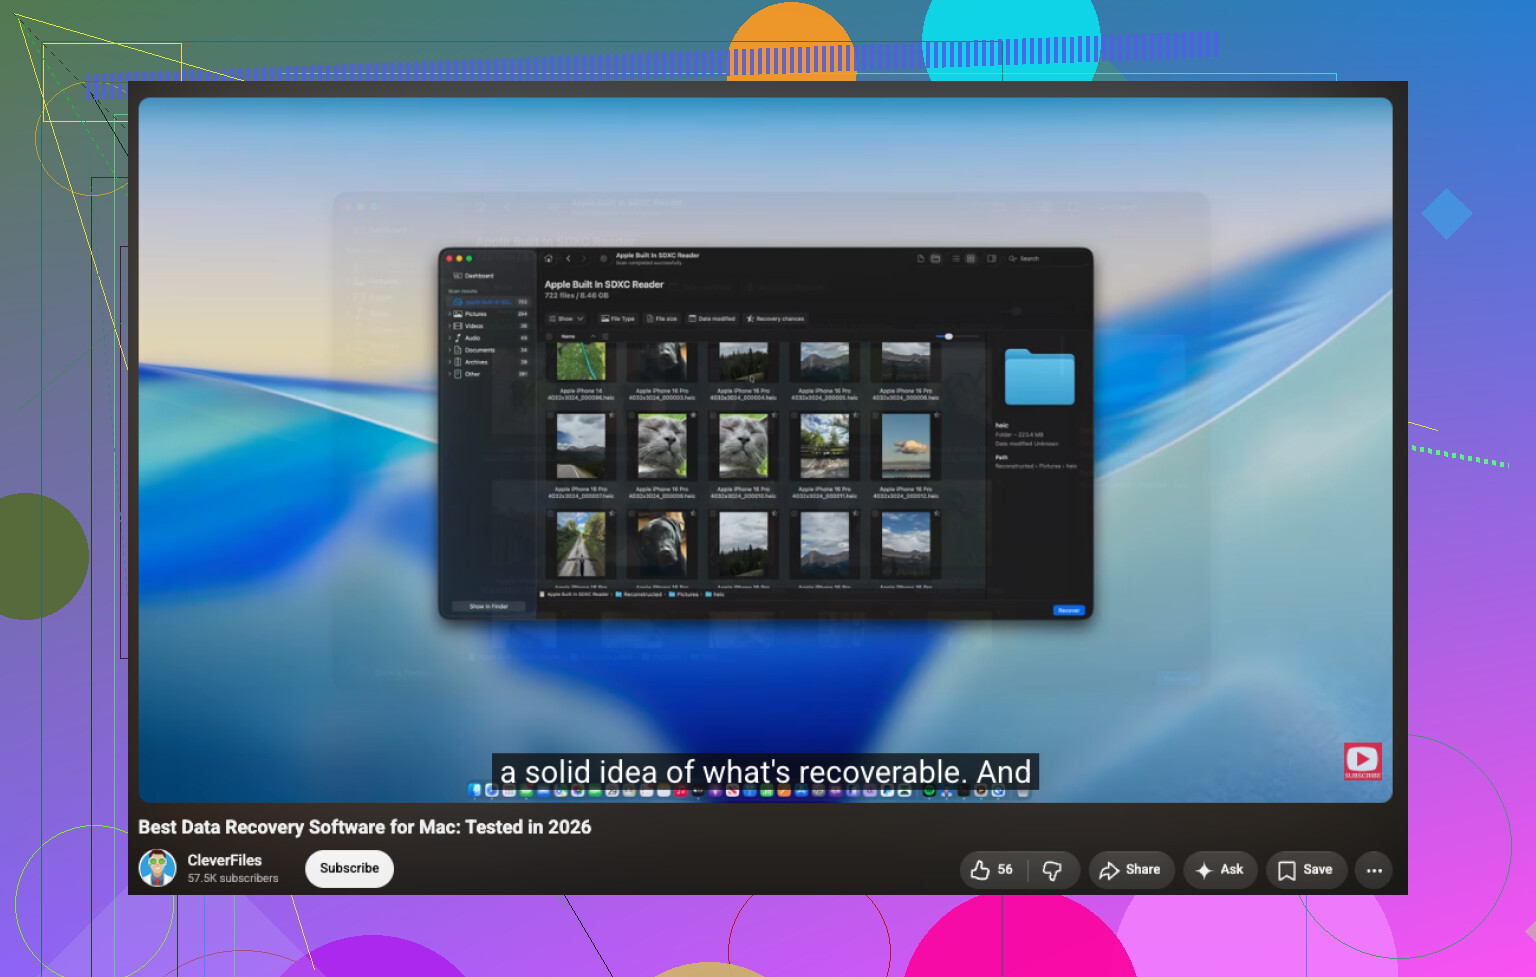
If this was on the internal SSD, recovery software may find names or fragments but still not give you usable documents. Before paying for Disk Drill or anything else, check app-specific version history too: Pages/Word autosaves, OneDrive/Google Drive trash, email attachments, and “Revert To” versions can sometimes beat disk recovery completely.