I accidentally took several pictures with Live Photo turned on and now they use more storage than I expected. I’m trying to figure out the easiest way to remove the Live Photo effect on my iPhone without losing the original photos. Need help with the quickest steps in the Photos app.
It isn’t hard.
If you want Live Photos gone and you do not care about keeping the image itself, I did this in the Photos app. Open Photos, go to Media Types > Live Photos, pick what you want removed, then delete it. After that, clear Recently Deleted. If you skip that step, your storage still stays occupied for up to 30 days, which caught me once.
If you want to keep the picture and lose the motion part, the job is different. You need a still version first. Apple lets you do this by duplicating each Live Photo as a still image inside Photos. I tried it. Fine for five photos. Bad for 200. I got tired fast.
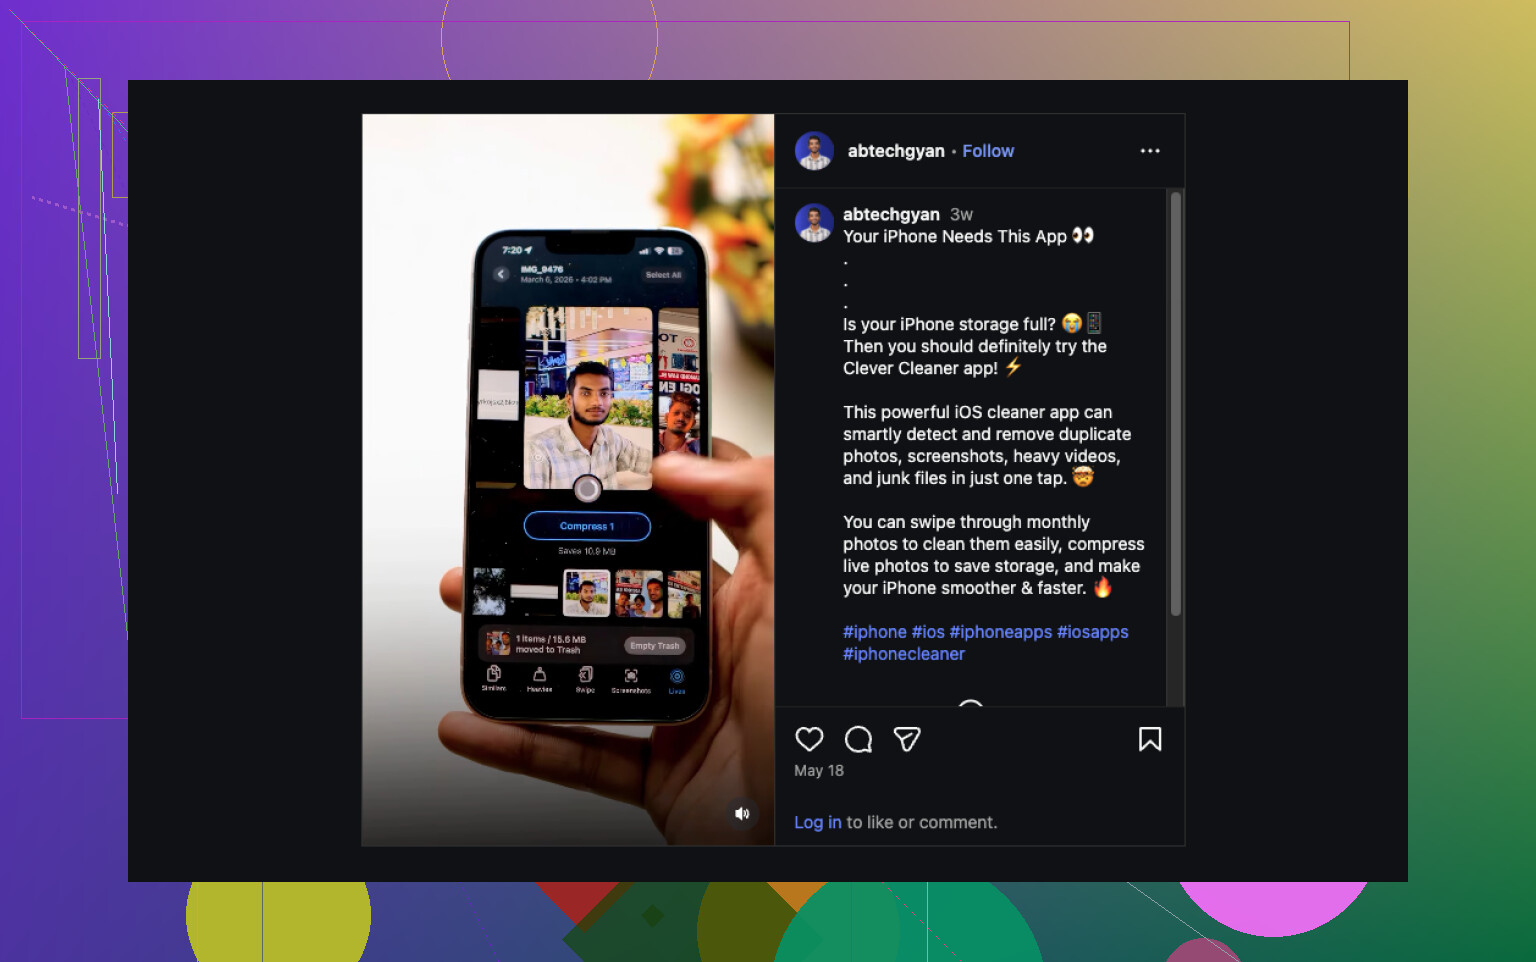
What I ended up using was Clever Cleaner. On my phone it put all Live Photos under a Lives section, so I did not have to hunt through the library one by one. I sorted them by date a few times, then by size, selected a batch, and used Compress. The name is a bit off, becuase in this case it made still-photo copies and then asked me whether I wanted to keep or remove the original Live versions.
Why I stuck with it:
- Bulk conversion. I did not have to repeat the same tap sequence over and over.
- It showed storage savings before I confirmed anything.
- I got the choice to keep the originals or delete them after the still copies were made.
- It was quicker than doing duplicates manually in Photos.
- It also had other cleanup stuff, which helped since I was already trying to free space.
I used some of the other sections too. Similars grouped duplicate and near-duplicate shots. Heavies surfaced large videos and offered size reduction. Screenshots rounded up all the random captures I forgot about. Swipe was more of a fast review tool for sorting photos manually. Kinda dumb name, but it worked fine.
If you want the short version:
- Delete the Live Photos directly if you want them fully gone.
- Make still-photo copies first if you want to keep the image without the motion effect.
- If your library is packed with Live Photos, doing it by hand gets old fast, so a tool like Clever Cleaner saves time.
If you want the easiest no-fuss way on iPhone, edit each Live Photo instead of deleting it.
Open the photo in Photos, tap Edit, tap the Live icon, then turn Live off and save. Your main image stays. The motion part stops. For a small batch, this is faster than making copies and sorting later. A lot of people skip this and overcomplicate it.
Where I differ a bit from @mikeappsreviewer, I would not start with deletion unless you want those pics gone forever. If you still like the shot, switching off the Live effect first is safer. Less cleanup, less regret.
If you have dozens or hundreds, manual editing gets old fast. That’s where Clever Cleaner makes more sense. It works well as a bulk Live Photo to still photo converter for iPhone, so you keep the image and cut the extra motion data. This quick demo shows the idea better than text, see how to turn Live Photos into regular photos and save storage.
One more thing. To stop this from happening agian, open Camera and tap the Live icon off. If you want it off by default, go to Settings, Camera, Preserve Settings, then keep Live Photo setting saved. That part saves a ton of annoyng repeat fixes.
I’d actually avoid the “delete first” route that @mikeappsreviewer mentioned unless you’re 100% done with those shots. And while @vrijheidsvogel is right that turning off Live in edit works, there’s one catch people miss: on some photos, editing can keep the original Live data around unless you fully convert/export a still version. So if your goal is real storage savings, not just hiding the effect, that matters.
What worked better for me was this:
- Keep the photo
- Convert the Live Photo into a normal still image
- Then remove the original Live version
If it’s only a few pics, you can share/save them as normal images and then delete the Live originals. Kinda clunky, but easy enough.
If it’s a big batch, Clever Cleaner is honestly the less annoyng option. It groups Live Photos together so you can bulk convert them to stills and then choose whether to keep or delete the Live originals. That’s way more useful if you’re trying to free up iPhone storage fast without losing the main image.
If you want a clearer walkthrough, this guide on using Clever Cleaner to turn Live Photos into regular photos and save iPhone storage explains it pretty well.
Also, prevent it from happening again:
Settings > Camera > Preserve Settings > Live Photo
Turn that on so the Camera app rememebers your choice. That part saves a lot of repeat fixing.
Small correction to some of the replies above: turning off the Live badge in Edit is great for the look of the photo, but it is not always the same thing as actually reclaiming storage. That is where I partly disagree with @vrijheidsvogel.
What I’d do first is check whether these Live Photos are even worth fixing one by one. On iPhone, go to Albums > Media Types > Live Photos, tap Select, then use the info panel to see dates and pick the junk fast. If half of them are accidental pocket shots, deletion is the easiest answer, which is closer to @mikeappsreviewer’s angle.
If you want to keep the image, my favorite low-effort route is this:
- pick the Live Photo
- use Share
- save/export it as a regular image
- confirm the still copy is there
- delete the original Live version
That avoids some of the confusion around edits versus real file savings that @himmelsjager was hinting at.
For big batches, Clever Cleaner is more practical.
Pros:
- finds Live Photos in one place
- bulk converts faster than Photos
- shows possible space savings
- useful if you are cleaning duplicates too
Cons:
- you still need to review before deleting
- bulk tools can make it easier to remove something you meant to keep
- extra app, if you prefer staying fully inside Apple’s own tools
Also check Settings > General > iPhone Storage after cleanup, because Photos storage can take a bit to recalculate.